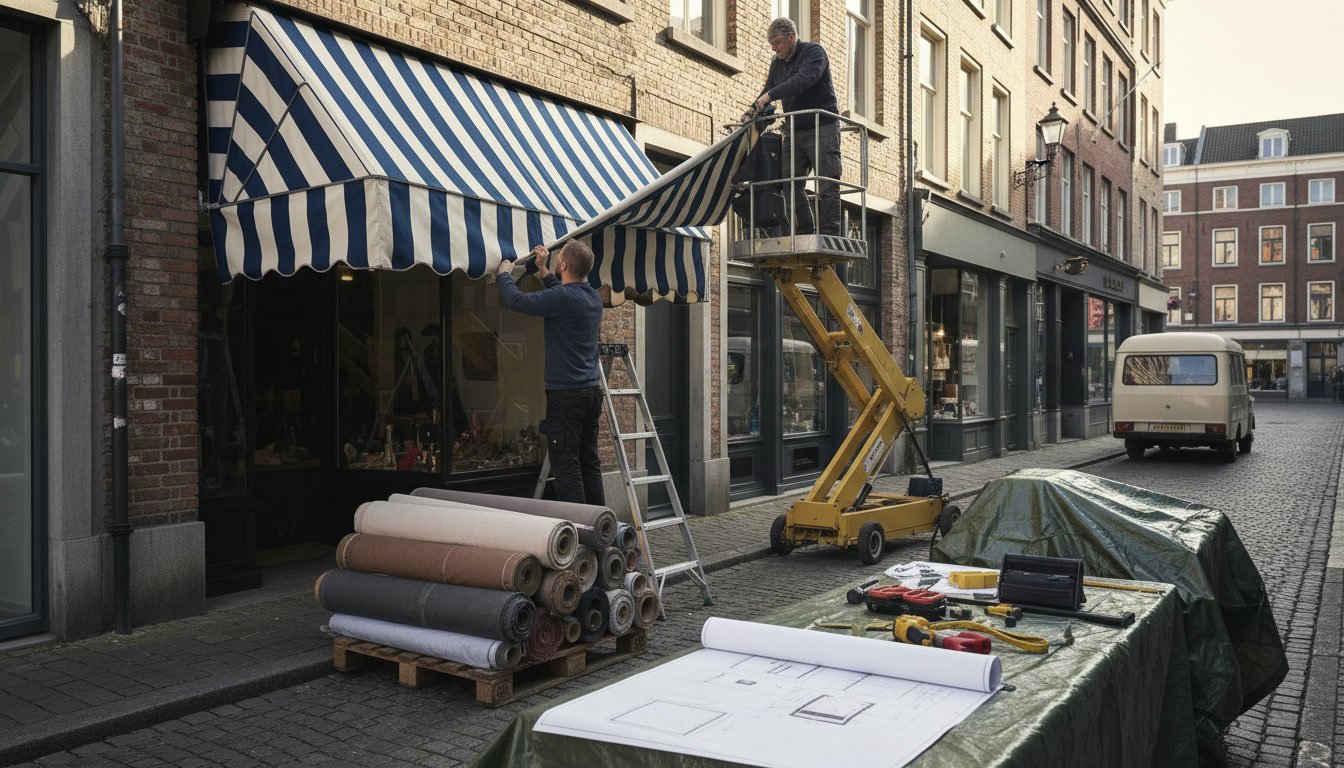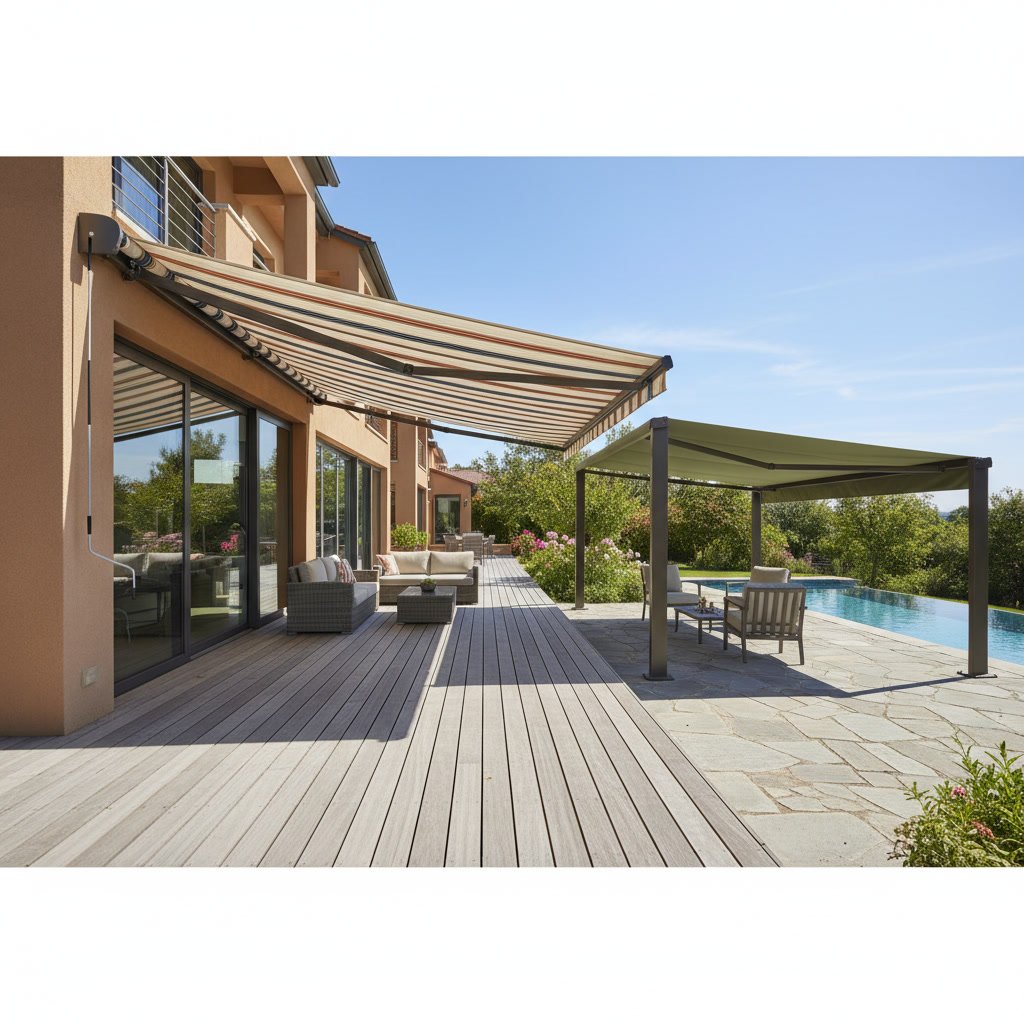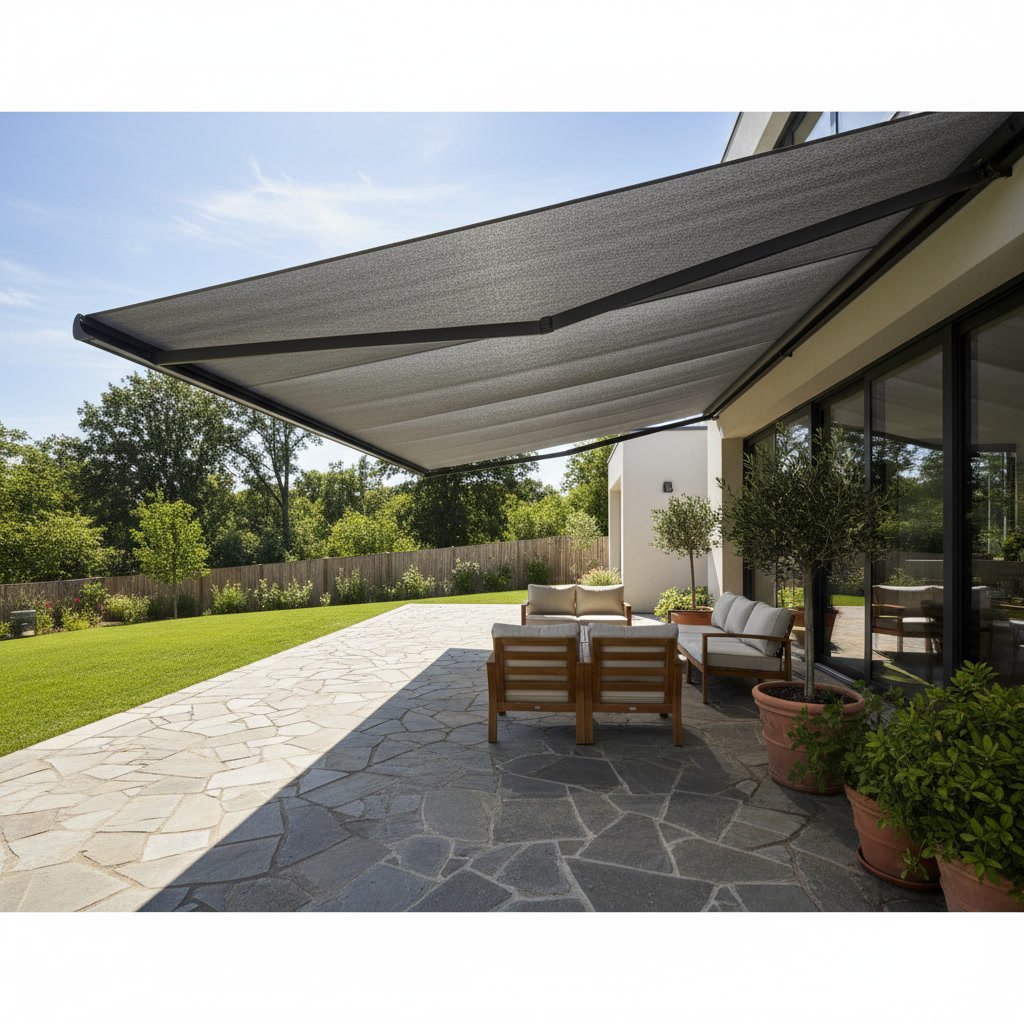
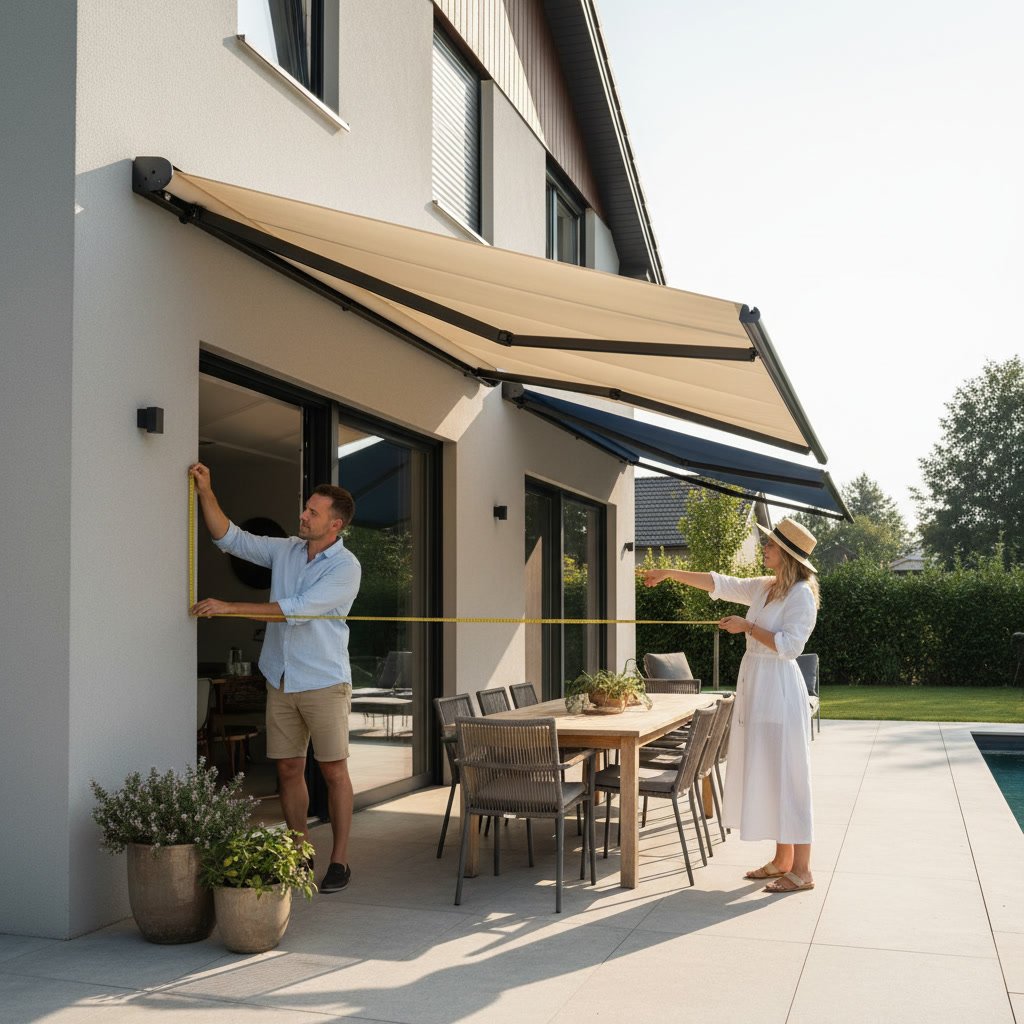
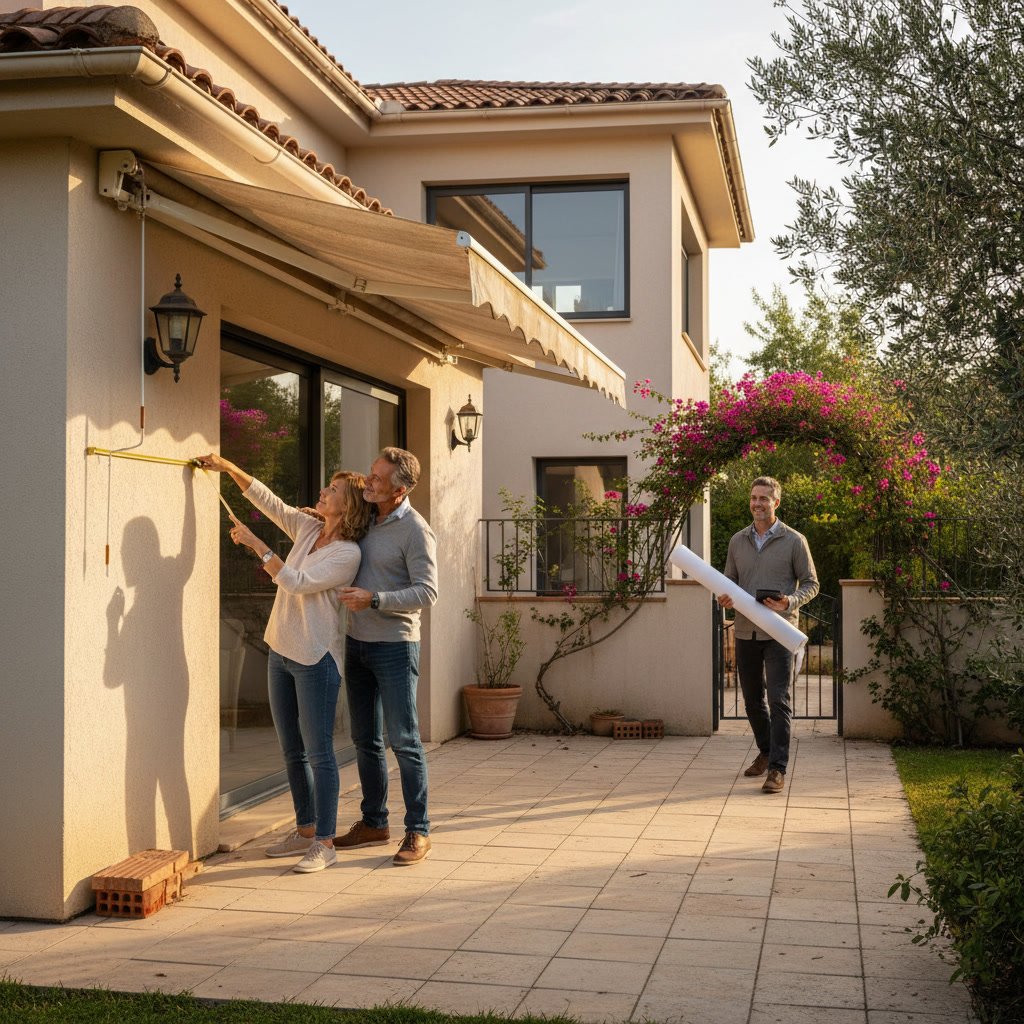
When you measure for retractable awning installation, you need three critical dimensions: the width of the space you want to cover, the projection distance from the mounting wall, and the clearance height above doors, windows, and anything else below. Getting these measurements right before you order means the awning will fit your mounting surface, clear all obstacles, and deliver the shade coverage you actually need. Miss any one of these, and you risk ordering a system that cannot be installed or leaves half your patio in the sun.
Why Accurate Measurements Matter Before You Order
A retractable awning is not something you can return to the store if it does not fit. Most units are custom built to your specifications, which means the numbers you provide determine what gets manufactured. If your space is 14 feet wide but you order a 12-foot awning, you will have gaps on either side. If you specify a 10-foot projection but only have eight feet of clearance, the fabric will drag on furniture or railings when extended.
Beyond the basic fit, measurements also determine how much usable shade you get at different times of day. The sun moves, and the angle changes with the season. An awning that looks adequate at noon might leave your entire seating area in direct sun by three in the afternoon. Understanding how projection affects coverage helps you plan for real-world use, not just a dimension on paper.
What You Need Before You Start Measuring
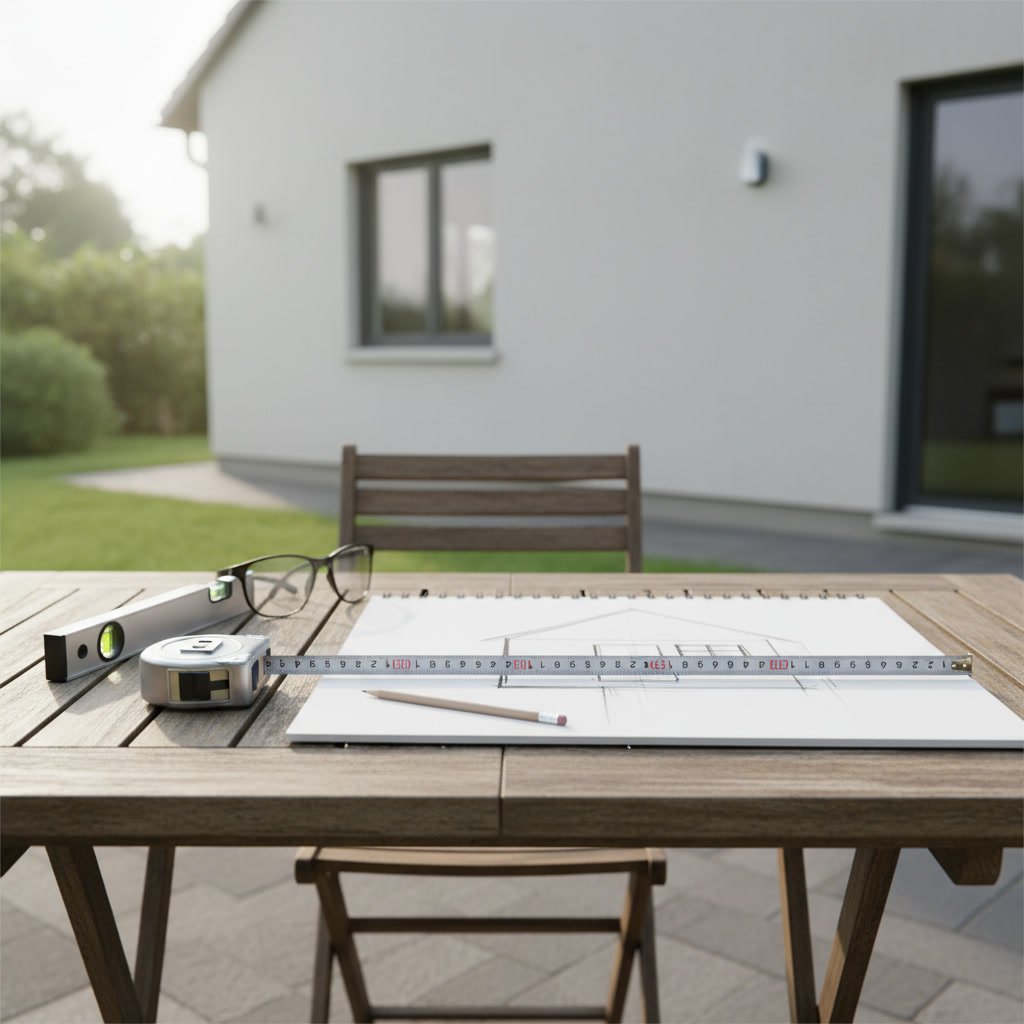
Bring a metal tape measure that extends at least 25 feet. Cloth or plastic tapes sag and stretch, which adds error to long spans. You will also need a notepad, a pencil, and a second person to hold the far end of the tape if the span is more than 10 feet. A step ladder helps if the mounting surface is above head height, and a laser level or smartphone level app can confirm whether your wall or fascia is plumb.
Take photos of the space from multiple angles while you are out there. Shoot straight on, from the corners, and from below if the mounting area is high. These images help later when you are reviewing options or discussing the project with an installer.
Measuring the Width of Your Coverage Area
Start by deciding what you want to shade. If you have a 16-foot-wide patio but only use 12 feet of it for furniture, you can save money and still get full coverage by sizing the awning to the usable area. Measure the width from the left edge of the space to the right edge. Write this number down as your coverage width.
Next, measure the width of the mounting surface where the awning will attach. This is usually the wall, fascia board, or soffit above your patio door or window. The mounting surface must be at least as wide as the awning, plus a few extra inches on each side for the brackets. If your wall is only 13 feet wide but you need 14 feet of shade, you will need to consider a different mounting method or adjust your expectations.
Determining the Right Projection Distance
Projection is how far the awning extends out from the wall when fully open. Measure from the wall straight out to the furthest point you want shade. Do not measure on a diagonal. Stand at the wall and use the tape to extend perpendicular to the house until you reach the outer edge of the furniture, grill, or seating area you want to cover.
Most residential retractable awnings offer projections between eight and 14 feet. If you measure 11 feet but the maximum projection available is 10 feet, you will need to adjust your layout or consider a different shade solution. Keep in mind that a longer projection puts more stress on the arms and frame, especially in wind, so always stay within the manufacturer’s maximum.
Checking Clearance Above Doors and Windows
Measure the height from the ground or deck surface up to the top of any door or window that sits below the planned awning location. Then measure up to the soffit, fascia, or roofline where the awning will mount. Subtract the first number from the second. That difference is your available clearance.
The awning housing and mounting brackets need at least four to six inches of clearance above the door or window. If the top of your patio door is 82 inches off the deck and your soffit is at 88 inches, you have only six inches to work with. That is tight but often doable. Anything less than four inches, and you risk blocking the door or not having enough room to secure the brackets properly.
Mapping Obstacles and Obstructions in Annapolis Homes
Walk the entire area under the planned awning path. Look for light fixtures, ceiling fans, gutter downspouts, exterior outlets, hose bibs, or anything else mounted to the wall or hanging from the soffit. Measure the location of each obstruction relative to the edges of your coverage area. A light fixture three feet from the left edge might force you to shift the awning to the right or choose a narrower width.
In Annapolis and across the Eastern Shore, many homes have architectural details like decorative trim, stone veneer, or multi-level rooflines that complicate mounting. If your wall steps back or forward, note where that transition happens. If you have a chimney or bay window, measure around it. These details matter because they determine whether the awning can be installed as one continuous unit or needs to be split into sections.
Accounting for Wind and Weather Conditions
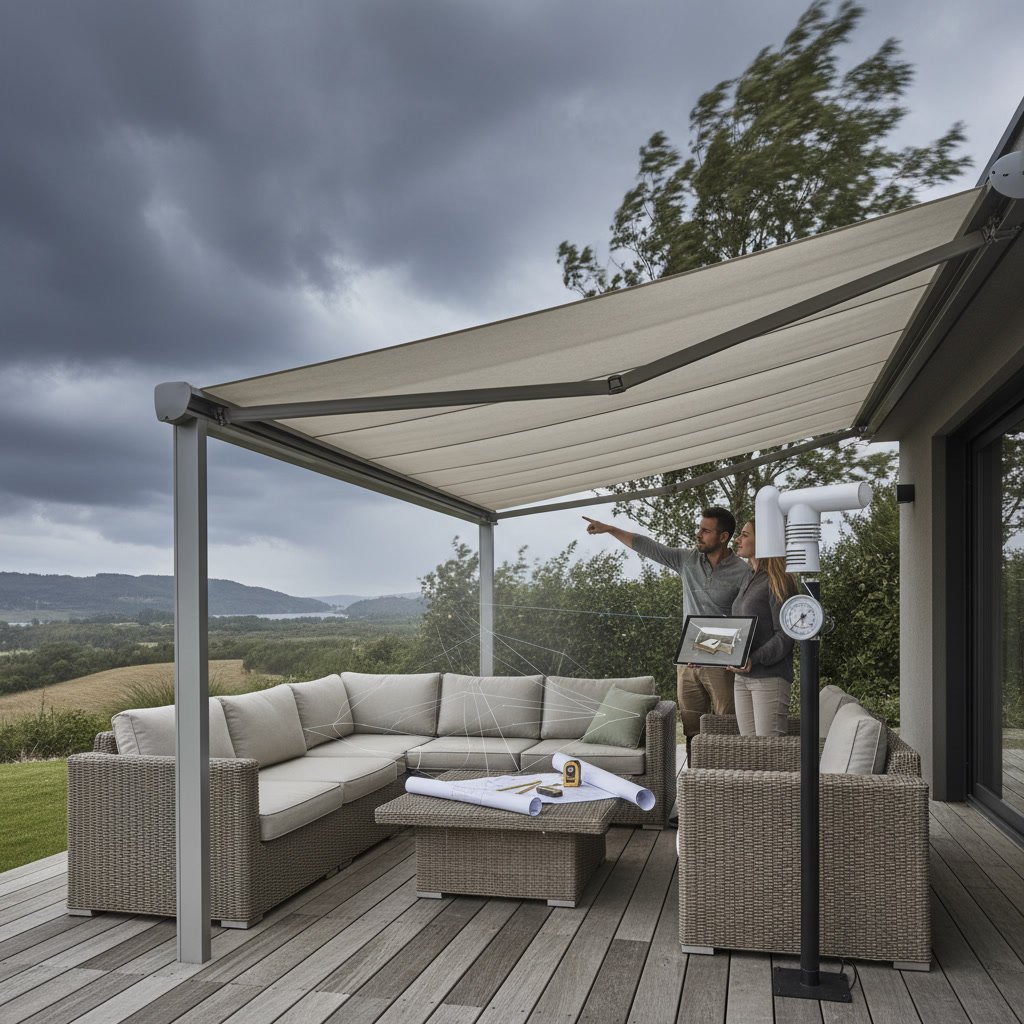
Living near the water means wind, and wind affects how large an awning you can safely install. An awning with a 14-foot projection catches far more wind load than an eight-foot unit. If your property is exposed to prevailing winds from the west or has no windbreak, you may need to size down or add wind sensors that automatically retract the awning when gusts exceed a safe threshold.
Wind also dictates mounting requirements. A brick or concrete block wall can handle the force of a large awning without flexing. Vinyl siding over wood studs requires blocking or reinforcement behind the siding to prevent the brackets from pulling loose. Measure the thickness of your siding and note the material. If you are not sure what is behind it, an installer will need to confirm before final sizing.
Step-by-Step Measurement Checklist
Follow this sequence to capture every dimension you need:
- Measure the width of the area you want to shade, left edge to right edge.
- Measure the width of the mounting surface where brackets will attach.
- Measure the projection distance from the wall out to the furthest point of coverage, perpendicular to the house.
- Measure the height from ground or deck to the top of doors or windows.
- Measure the height from ground or deck to the soffit, fascia, or roofline.
- Calculate clearance by subtracting the door height from the soffit height.
- Map the location of all obstructions: lights, fans, outlets, downspouts, trim.
- Note the wall material and any architectural features that affect mounting.
- Take photos from multiple angles.
Write everything down on a simple sketch. You do not need drafting skills, just a rectangle representing the wall and notes for each dimension. Label the left side, right side, height, projection, and any obstacles with their distances from a fixed reference point like a door frame or corner.
Common Measurement Mistakes to Avoid
The most frequent error is measuring width at the wrong height. If you measure at deck level but the wall tapers or has trim that steps out at the soffit, your bracket spacing might not fit. Always measure at the height where the awning will actually mount.
Another mistake is assuming your wall is level and plumb. Many older homes have walls that bow, sag, or tilt slightly. If the wall leans out at the top, the awning might not sit flush against the mounting surface. Use a level to check plumb before committing to a size.
Do not forget to measure twice. A single measurement can be off by an inch or more if the tape shifted, the angle was wrong, or you misread the markings. Repeat every measurement and compare the numbers. If they do not match, measure a third time.
When to Call a Professional for an On-Site Visit
If your space has unusual features, if you are not confident in your measurements, or if the mounting surface is complex, skip the DIY approach and request an on-site consultation. A professional brings experience with dozens of installations and knows how to work around obstacles you might not even notice.
Awning2Go measures every project on site before fabrication. We check sun angles, wind exposure, and structural conditions that affect performance and longevity. We also walk you through fabric and frame options based on what your space actually needs, not just what fits on paper. That process eliminates surprises and ensures the system works the way you expect it to once installed.
For projects in Grasonville, Chester, or anywhere else on the Eastern Shore, local knowledge matters. We understand the building styles, the weather patterns, and the installation challenges specific to this area. That context shapes every recommendation we make.
Getting the Right Fit for Your Outdoor Space
Accurate measurements give you confidence that the awning you order will fit your home and deliver the shade coverage you need. The process takes less than an hour and prevents costly mistakes that delay installation or force you to settle for a system that does not work. Whether you handle the measurements yourself or bring in a professional, the goal is the same: a clear, complete picture of your space before any fabrication begins.
If you are ready to add a retractable awning to your patio, deck, or storefront, reach out to Awning2Go for a free consultation. We will measure your space, review your options, and provide a clear quote before any work begins. Call +14109995607 or visit our contact page to schedule your site visit.